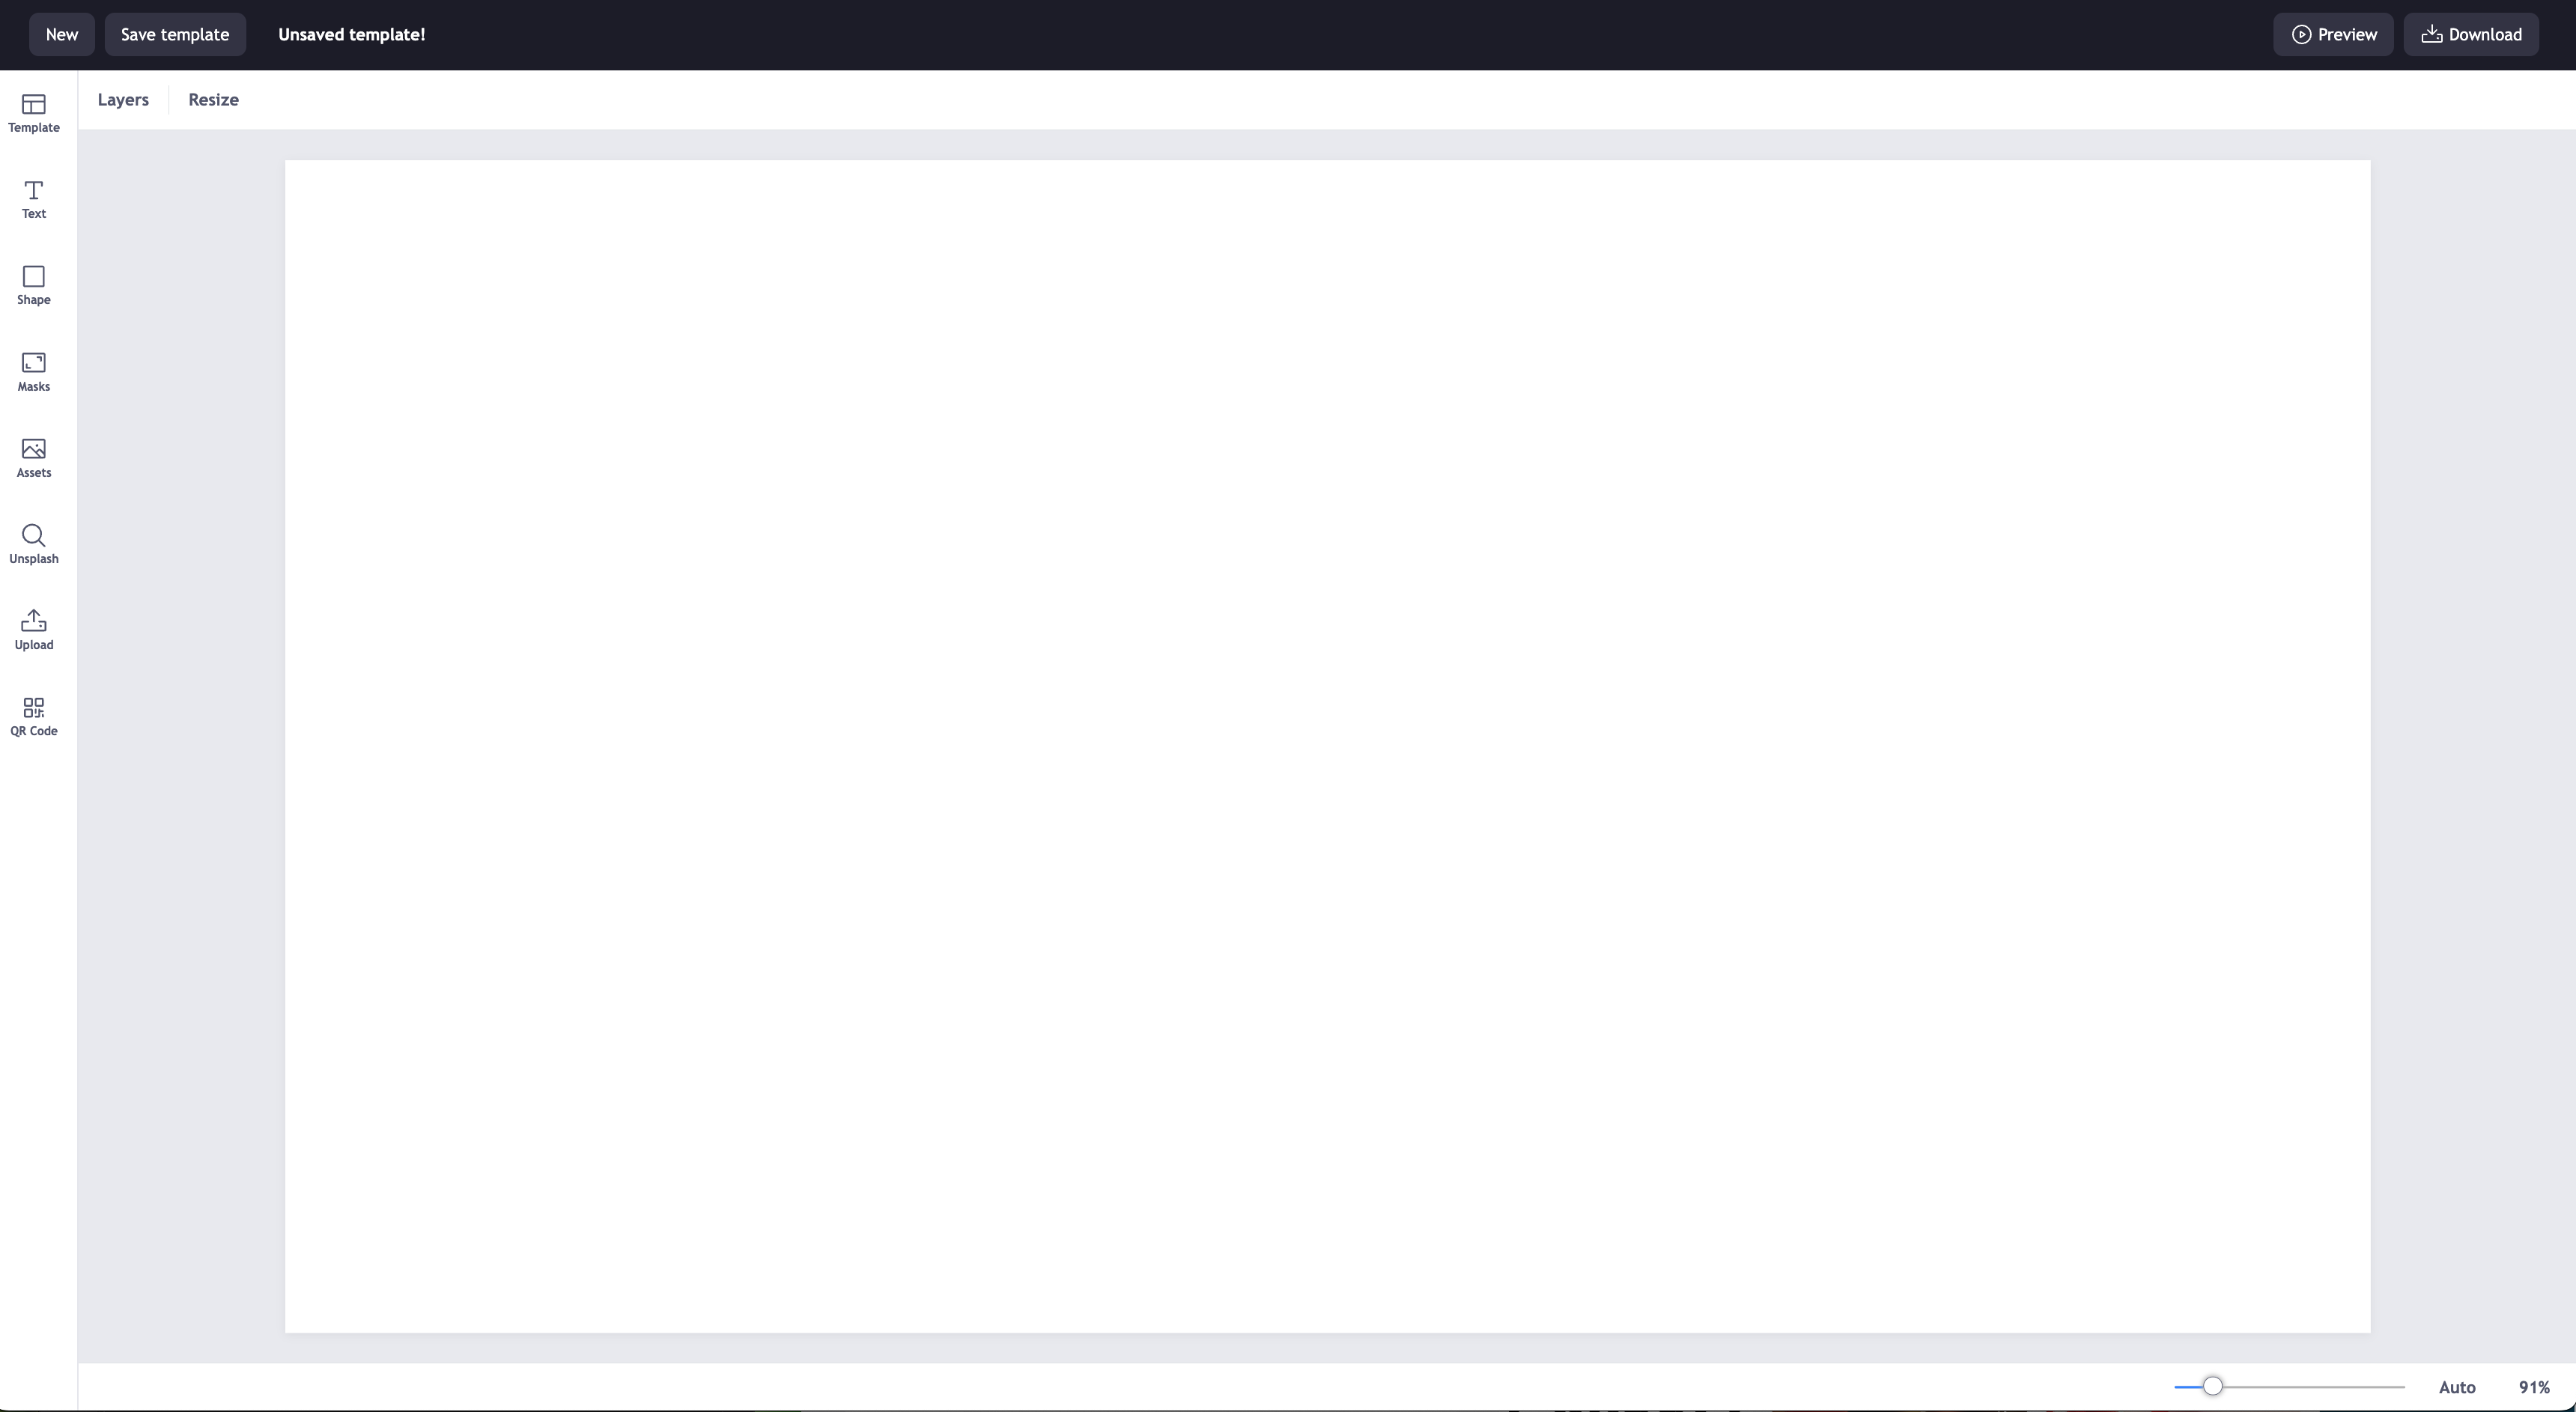
Content Creator
This section will cover all the settings you need to know about content creator.
- Click on Creator in the navigation bar.
- This will open a new tab in your browser. Here you can design content that can be saved as templates. All saved media items will be stored directly into your media library.
New / Remove / Save / Save As
- These options are located in the top left of the screen.

Create New Template
- Click on the New button. You may be prompted about saving your current work.
Delete Template
- To delete a template open it on the canvas then navigate to the Remove button located on the top left of the screen.
Save Template
- Click on the Save button. If you do not save you will lose all your edits.
- By the clicking the Save button you will be prompted to enter a name for your template. Press OK.
- Your saved template can now be found by pressing the Templates button.
Save As
- If you have already saved a template, you will have the option to Save As, next to the Save button.
- Click Save As to create an additional template. You will be prompted again to enter a name. Press OK.
Preview / Download / Publish
- These options are located in the top right of the screen.

Preview your template
- Click on the Preview button. This will be displayed in a pop-up window.
Download your file
- Click on the Download button. This will download the file as a PNG.
Note: The file name of the download may differ from the name of your template.
Publish Template to Media Library
- Click on the Publish button in the top right corner of the screen. The published file can now be found within the Media tab in the navigation bar.
Note: You will need to Save the template before being able to publish.
Publish & Replace / Publish as New
- If you have already published a template to your media library, by pressing the Publish button again you will be given the following prompt

- By pressing the Publish & Replace button, this will overwrite the template and save a new media item to your media library.
- This will also overwrite the content if it is already in a playlist. You do not need to add the media item to a playlist again. It does it automatically.
- By pressing the Publish as New button, this will create a new media item saved to your media library.
Layers / Resize
- These options are located in the top left of the screen below the save options.
Layers
- Click on the Layers button. Here you will see all the layers you have created.
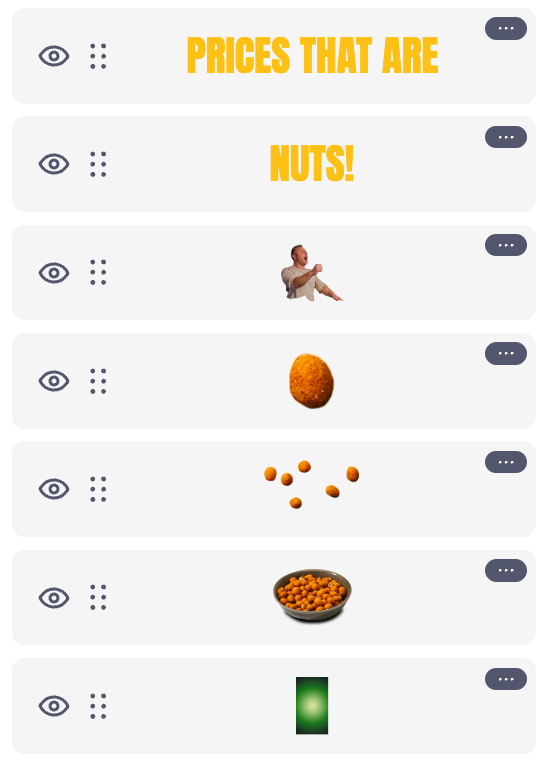
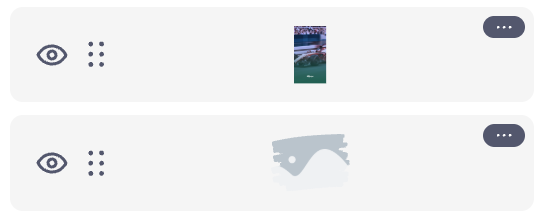
- Layers are ordered from top to bottom. Top being most visible. Bottom being obscured by layers above them.
- Click and drag layers up or down and release to reorder them.
- Hide or show layers by clicking the Eye icon next to each layer.
Resize Canvas
- Click on the Resize button. Choose your desired size or orientation.
Navigation Icons
Templates
- Click on the Templates icon to open the menu of pre-made templates. This is also the area where you will find all your saved templates.
- Click on any template to add it to the canvas. If editing the content, always remember to click on Save.
Text
- Click on the Text icon to open the text menu including some pre-made text templates to get you started.
- If you just want to add text to your template, click on either the Add a heading, Add a subheading or Add a little bit of body text. It will then be added to the canvas.
- Once selected on the canvas, a menu above will appear listing all the editable parameters.

Shapes
- Click on the Shape icon to open the menu of shapes. Click on a shape to add it to the canvas.
- Click on the Shape to reveal the editable parameters.

Masks
- Click on the Masks icon to open the menu. A mask is a shape that can reveal or hide parts of a layer, without permanently deleting or altering the original image.
- To add a mask, click on one to add it to the canvas.
- Click the Layers button and drag the image you wish to mask out above the mask you added to the canvas.
- On the canvas, select the image, drag and hold it over the mask, until the image fills the mask.
Assets
- Click on the Assets icon to open a library of different assets including images, icons and graphics. Click on any asset to add it to the canvas.
Unsplash
- Click on the Unsplash icon to search for royalty-free images to add to your design. Click on any image to add it to the canvas.
Upload
- Click on the Upload icon to add your own images to your design. Simply follow the prompt by pressing the upload button and locating your files.
- At present you can only upload JPG, PNG and WEBP formats.
- All uploaded files are stored locally. This means if you login to your account on a different computer, your upload files will not be there.
QR Codes
- Click on the QR Code icon to create a unique QR code. Simply type in your desired URL into the box at the top and press Enter.
- Click on the generated QR Code to add it to the canvas.