Playlists
This section will cover all the settings you need to know about playlists.
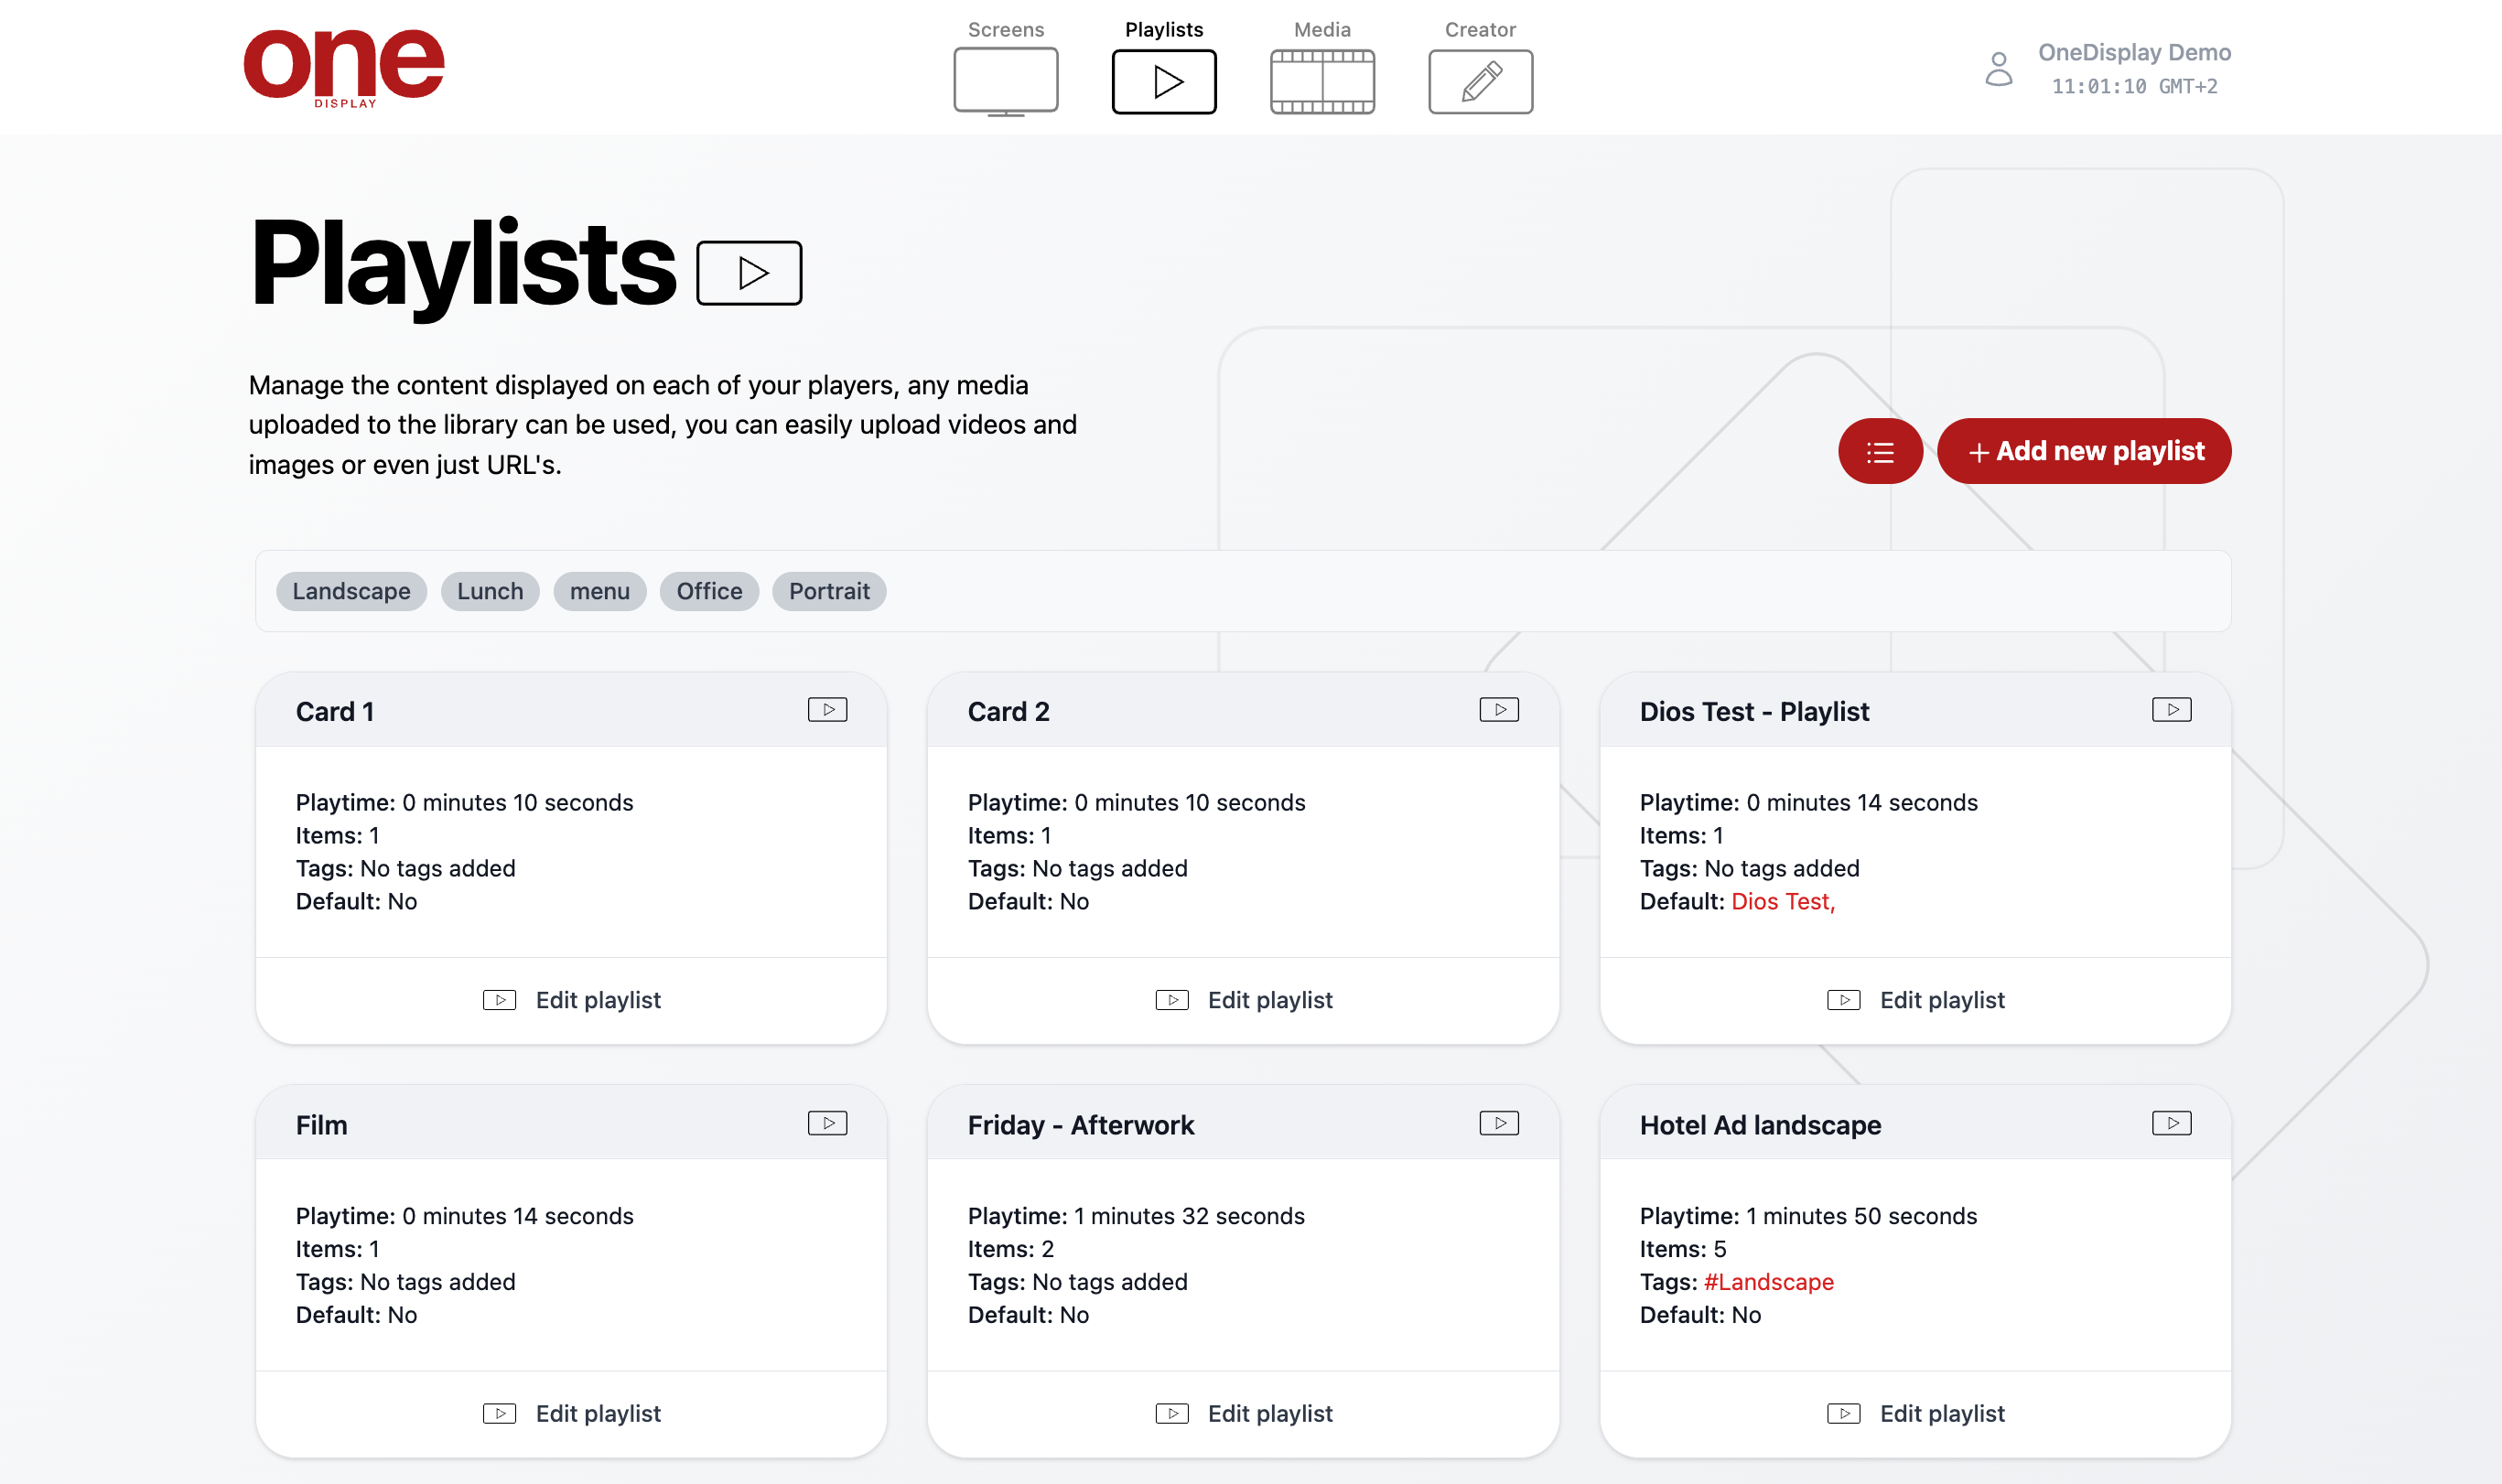
- Click on Playlists in the navigation bar.
- Playlists are used to view the content on your screens. They can be filled with media including videos, images and web links.
Add a new playlist
- Click on + Add new playlist.
- Enter a playlist name and click on Create playlist.
- You will then be taken into the playlist settings. Here you can change the name, add tags (to filter your playlists and find them easily) and add your media content.
- Click on + Add media.
- A menu will appear from the right hand side of the screen displaying all your Available media. Click once on each item to add it to the playlist.
- When you have finished adding media to your playlist, click anywhere in the main window to remove the panel.
- If you wish to reorder your content, click and drag above or below your other media items.
- Click on Save.
Remove content from a playlist
- Click on the media item you wish to delete. It will then be highlighted in red.
- Click on Remove item(s).
- A warning prompt will appear. Click on Remove. To cancel click Close.
Edit content in a playlist
- Each media item displays its relevant information including: Name, resolution, file size and web address (if applicable). On the right hand side there is also an Edit button and below that Duration, showing how long that media item will be displayed on the screen, in seconds.
- To reorder a media item, simply select the item and drag either up or down within the playlist.
- To edit the Duration either click on the - + buttons or type in manually a number of seconds.
When reordering a playlist, it gets saved immediately, no need to press the save button
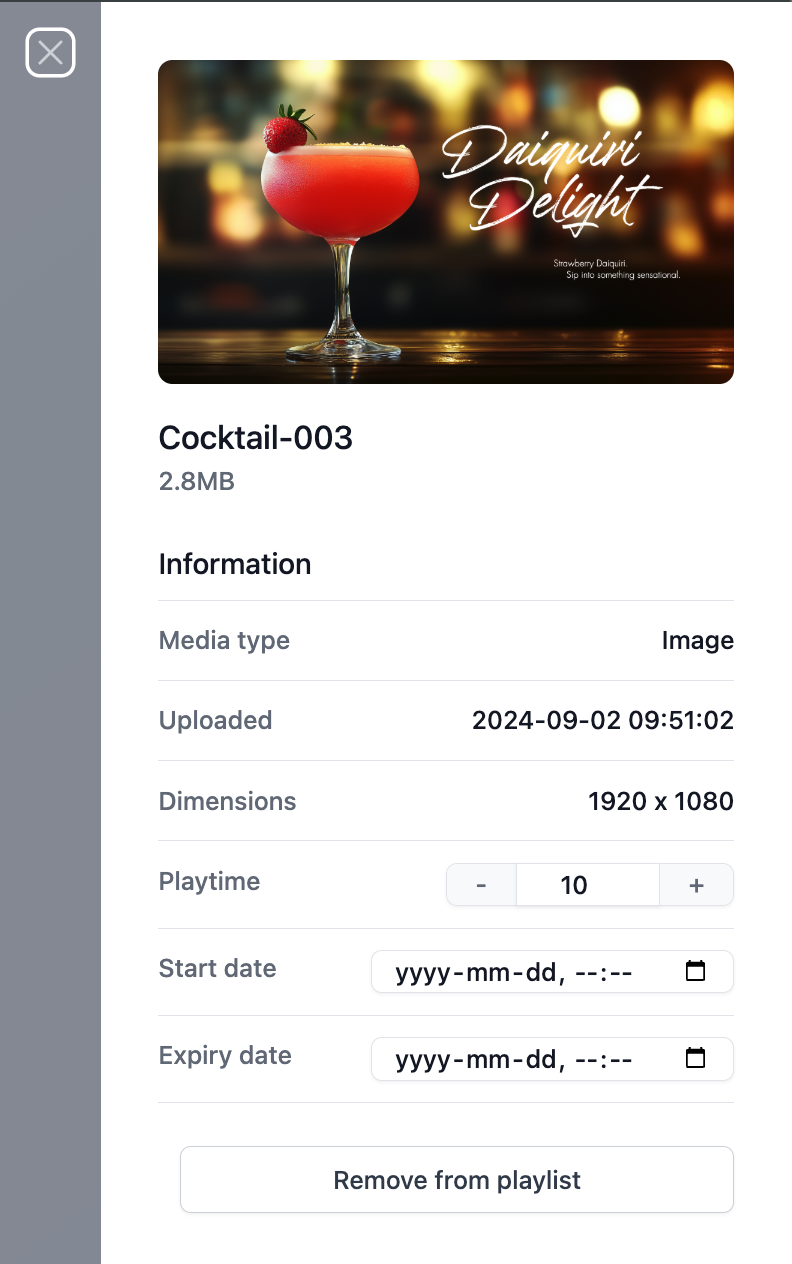
More editing options.
- Here you will see a larger and more detailed overview of your media item, including Media type, when it was Uploaded, Dimensions, Duration, Schedule feature (Start Date/Expiry Date) and Remove from playlist option.
Scheduling media within playlists
- Scheduling content within a playlist is perfect for one-off events/promotions. By setting a Start/Expiry date and time, that piece on content will appear for the duration set, then disappear from your playlist, unaffecting your other content.
- Click on the desired media item and click the Edit button.

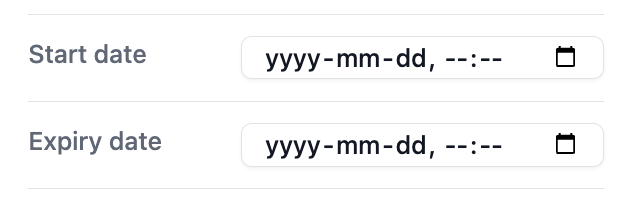
- The menu will slide out from the right. Scroll down to the Start date / Expiry date section.
- Click on Start date and enter date and time.
- Click on Expiry date and enter date and time.
- Close panel.
- If the content is scheduled for a future date you notice the media item will have disappeared from the playlist. To show the item in your playlist click on Show expired media. The media item will now appear in your playlist.

- To view all your saved playlist, click on Playlists in the navigation bar.
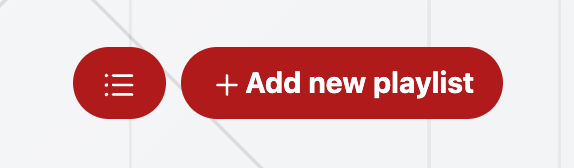
Switch playlist view
Click on the button next to +Add new playlist to toggle between Card view or List view.