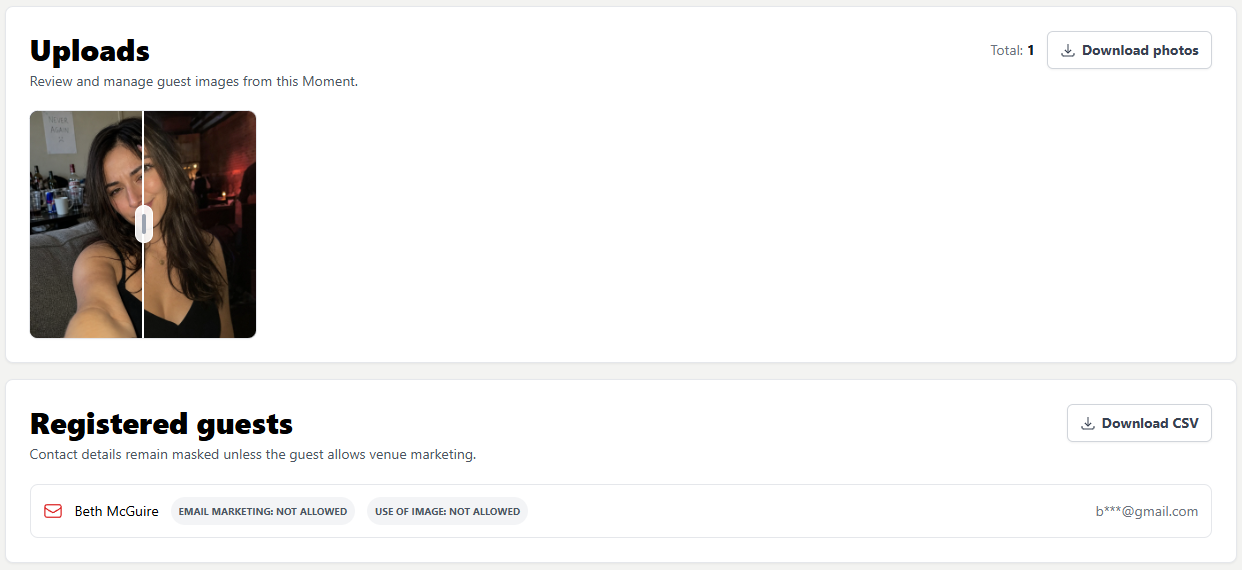
Moments
Create, start and manage an interactive photo experience on your OneDisplay screens.
Moments turns your existing OneDisplay screens into an interactive photo experience. Guests scan a QR code, upload a photo and see the finished image on the screens you choose.
Open Moments from the main navigation. The landing page shows your current Moments and provides shortcuts to create a new one.
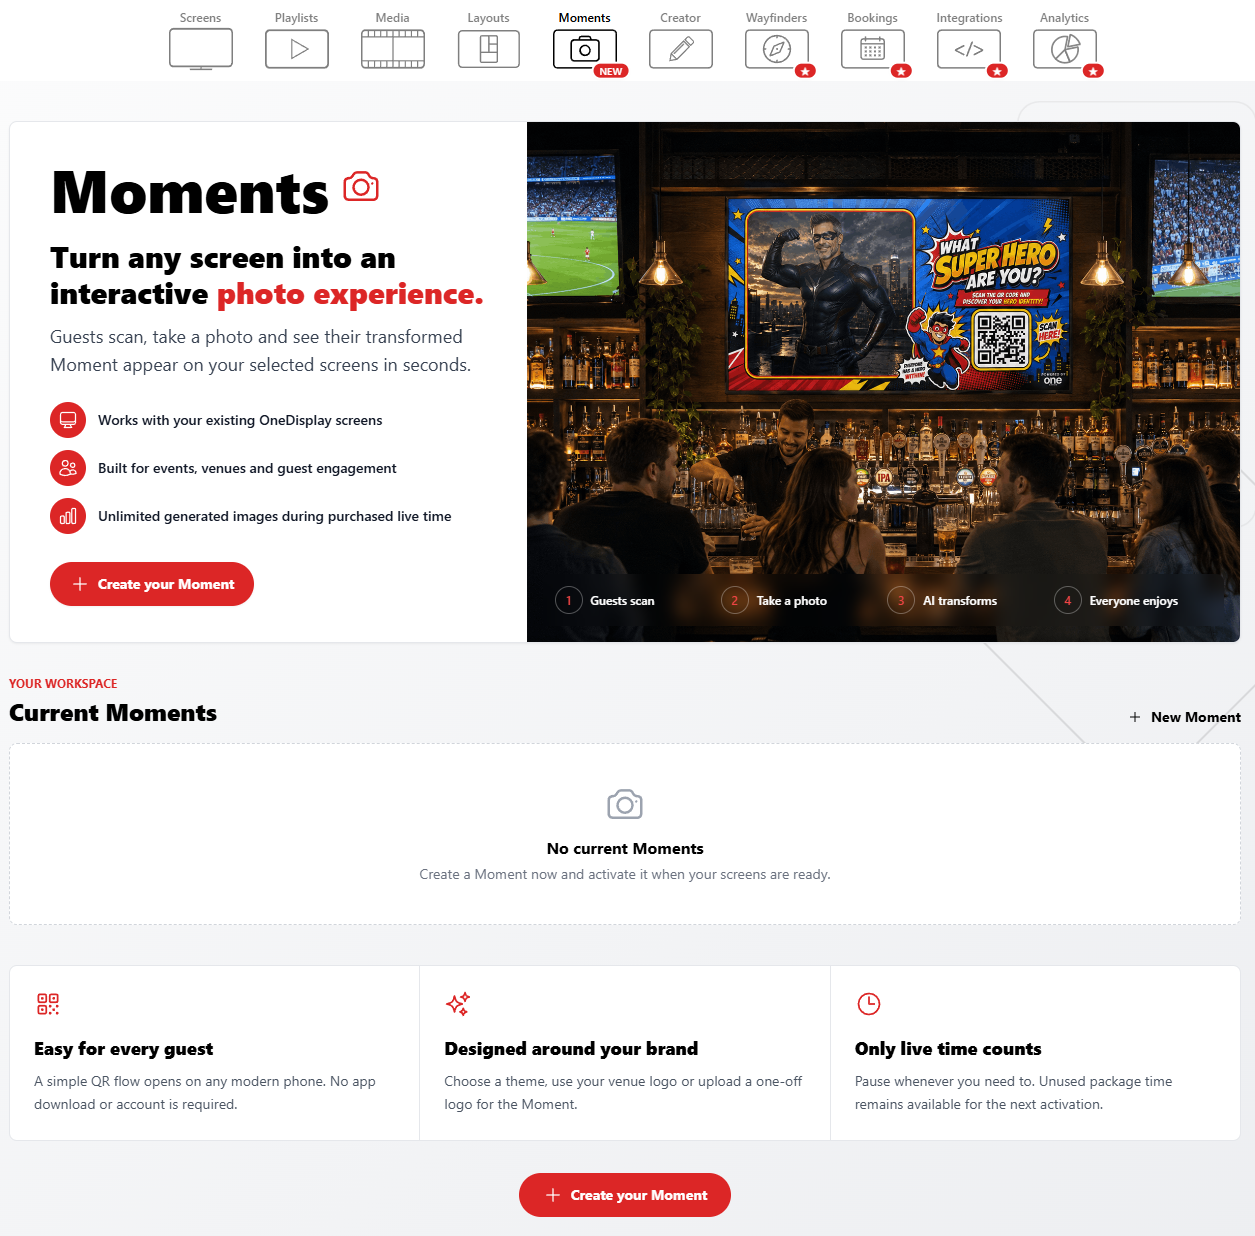
Create a Moment
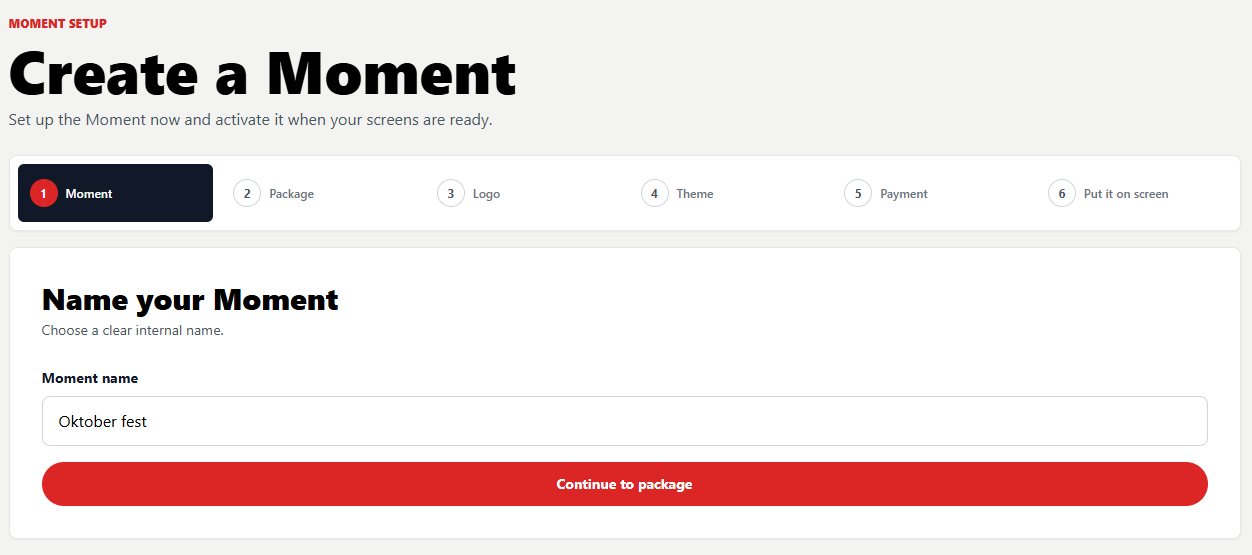
Select Create your Moment or New Moment to open the six-step setup wizard. A draft is saved as you progress, so you can select Save and leave and continue later.
1. Name your Moment
Enter a clear internal name that will help you identify the Moment in your workspace. Select Continue to package when you are ready.
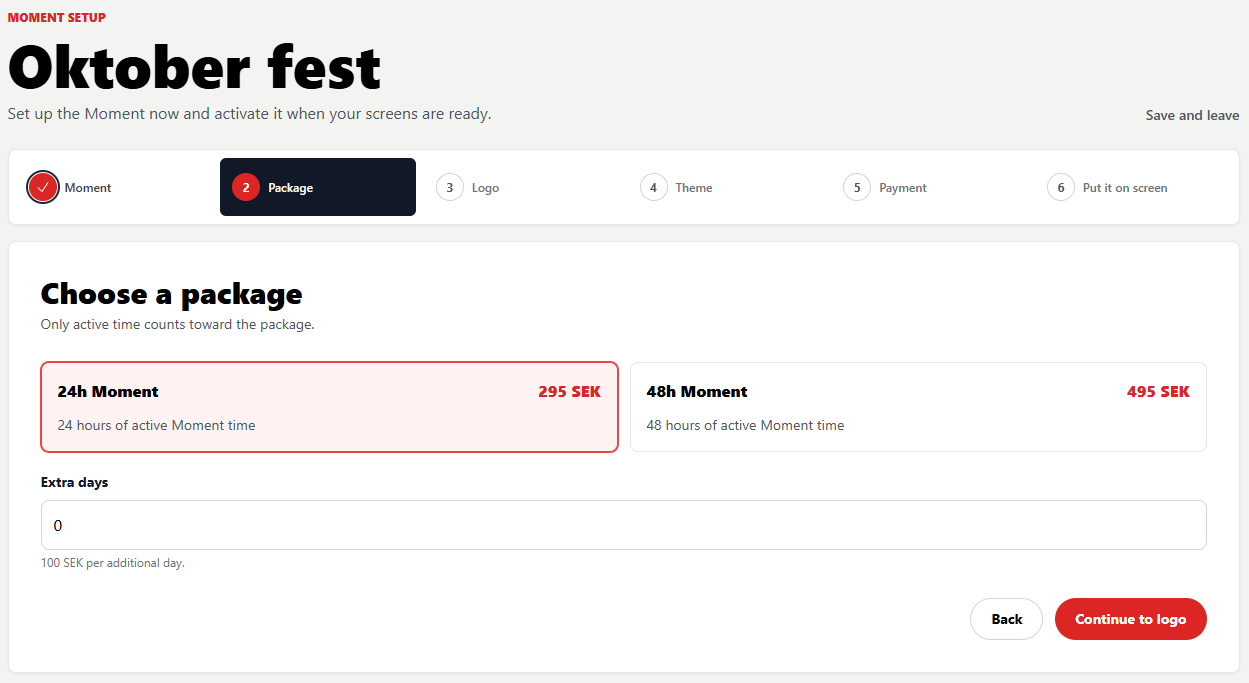
2. Choose a package
Choose the amount of active time you need. You can select a 24-hour or 48-hour package and add extra days.
Only time while the Moment is active counts toward the package. Pausing the Moment preserves the unused time for your next activation.
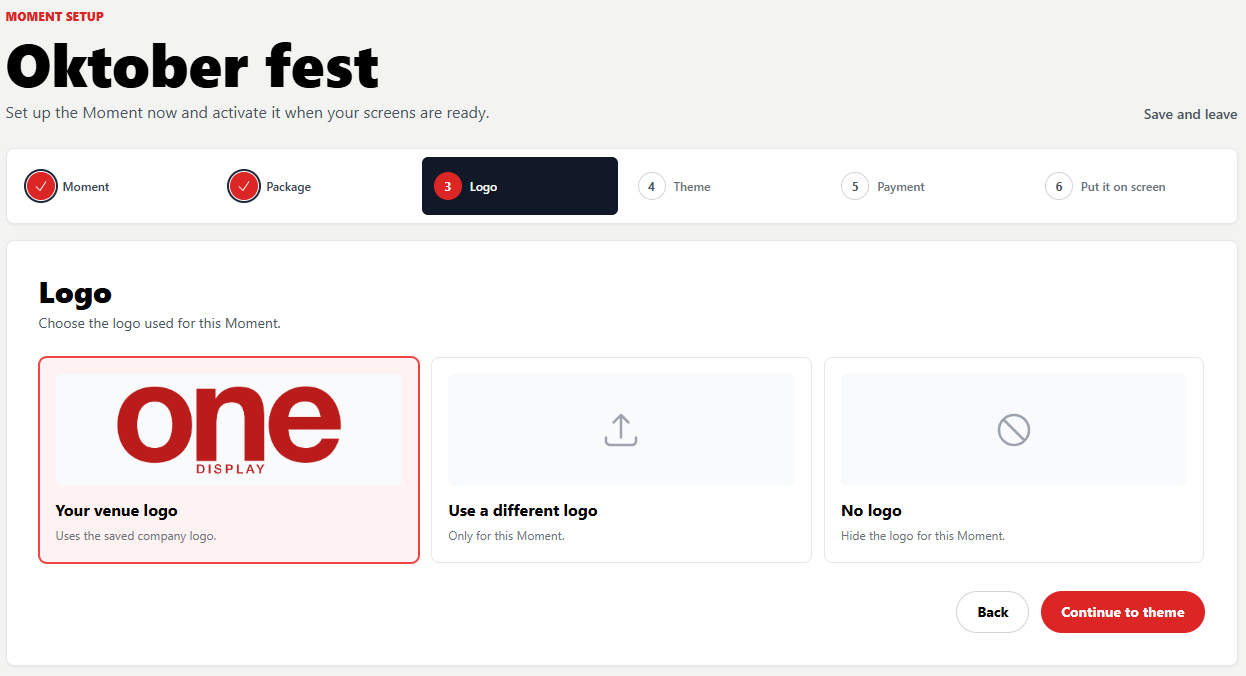
3. Choose a logo
Choose how your brand should appear:
- Your venue logo uses the logo saved for your company.
- Use a different logo uploads a logo for this Moment only.
- No logo creates the Moment without a logo.
The selected logo can be shown on the guest upload page, in supported layouts and in AI-generated images.
4. Choose a theme
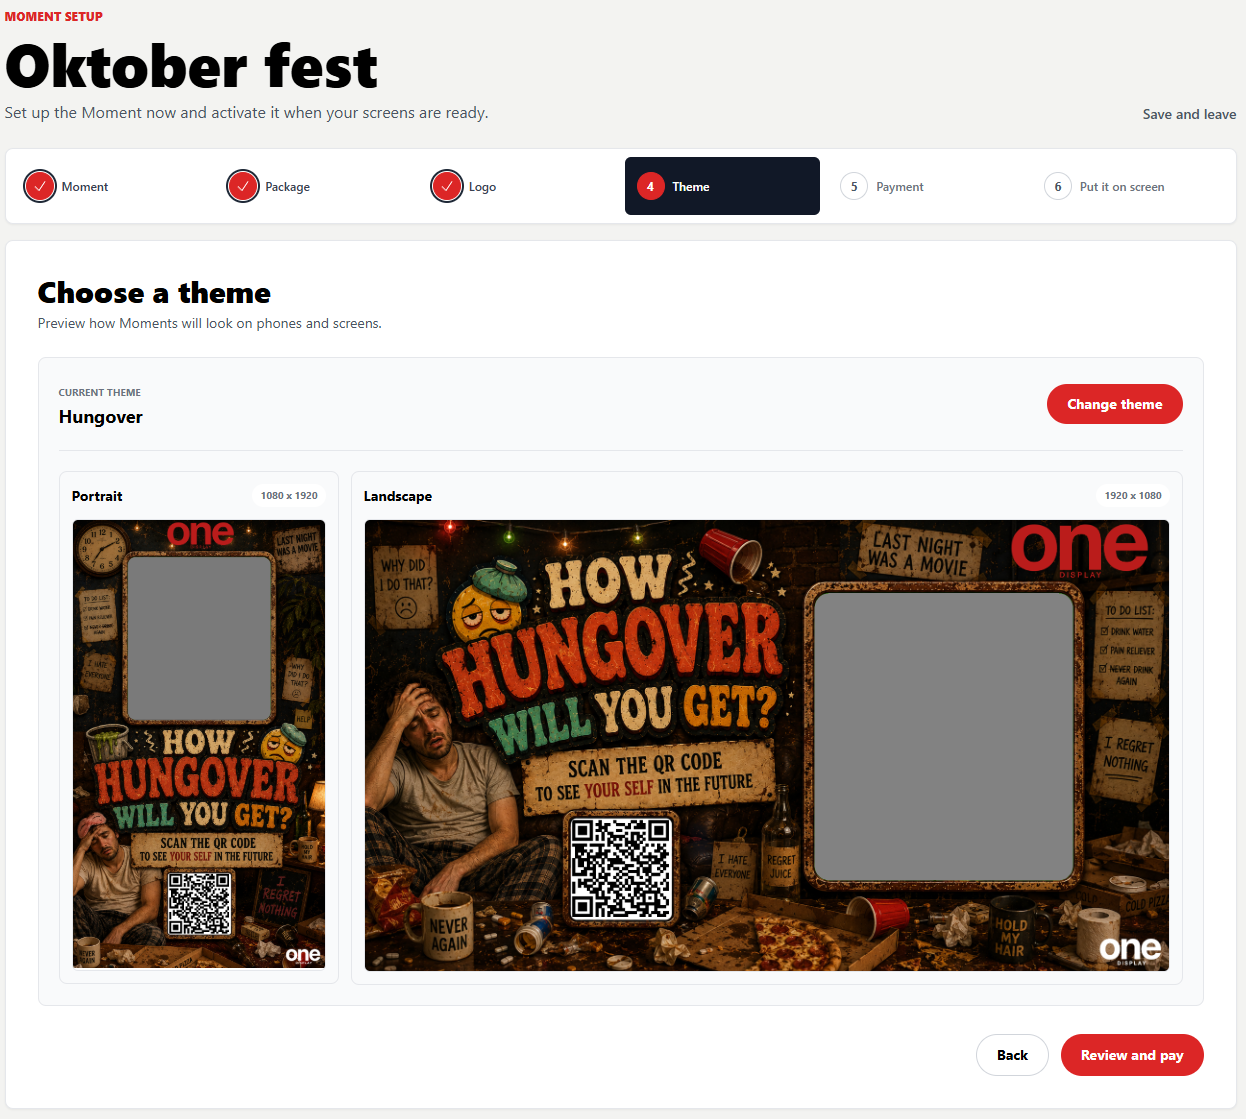
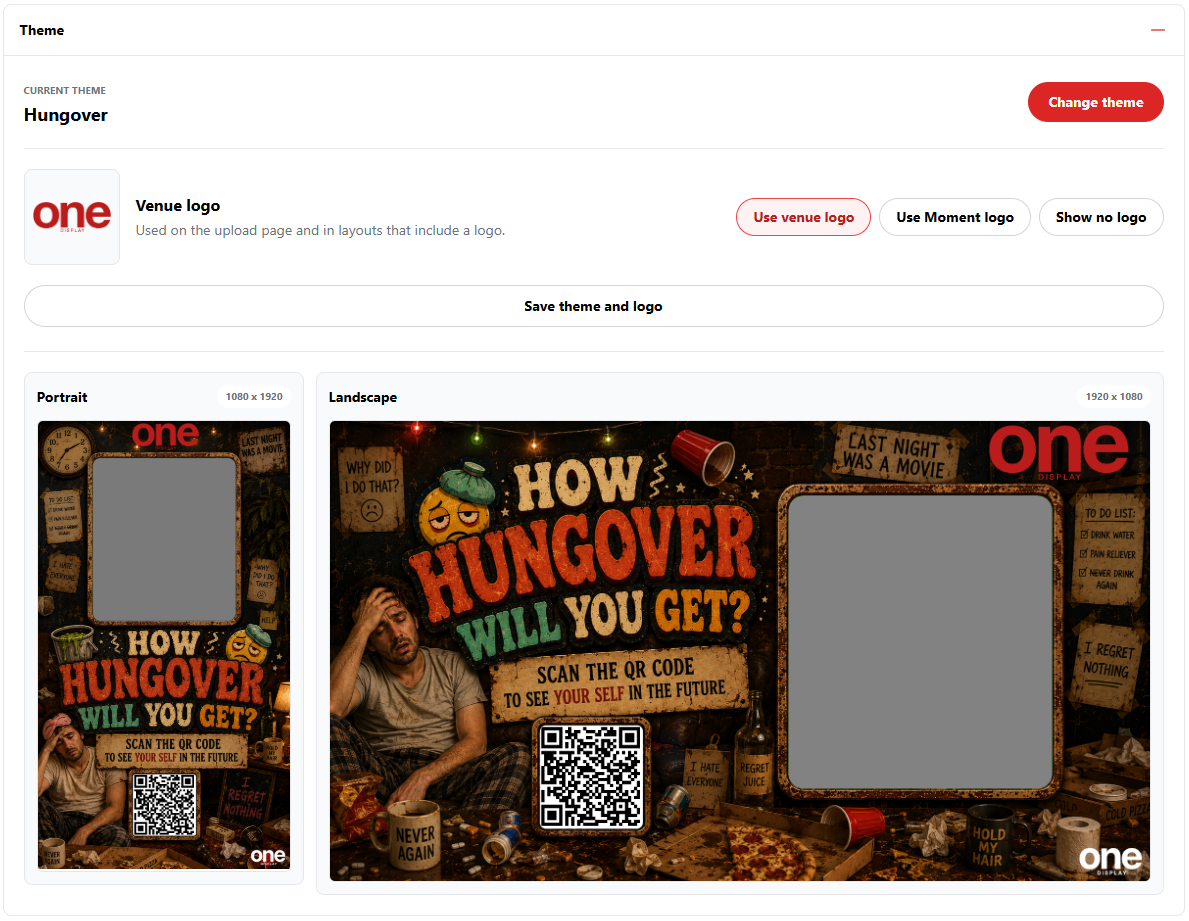
Select the visual theme guests will see on phones and your connected screens. Review both the portrait and landscape previews to confirm that the theme suits the orientation of your screens.
Select Change theme to browse the available themes, then select Review and pay.
5. Review and pay
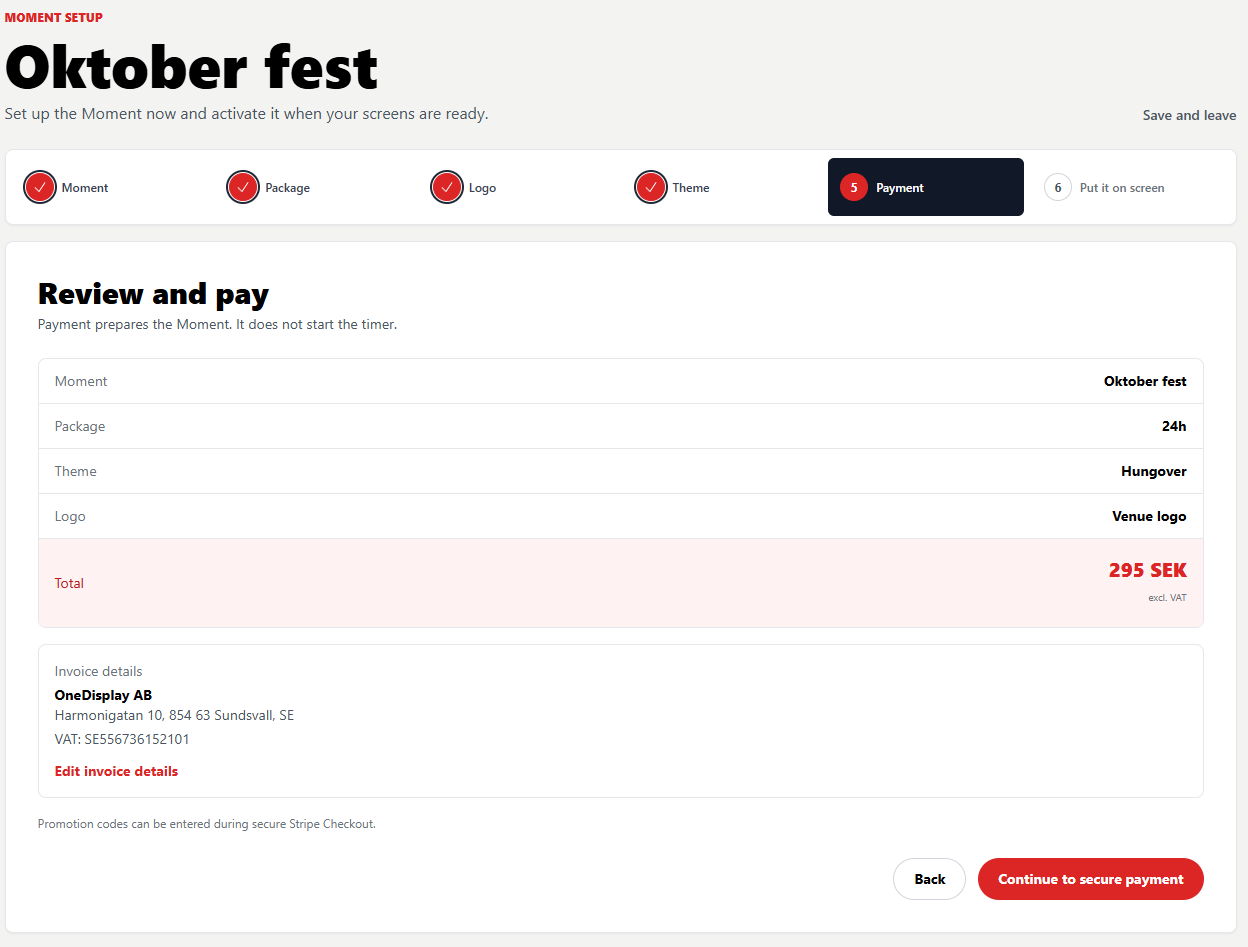
Review the Moment name, package, theme, logo and total before payment. Check that the company name, address and VAT information under Invoice details are correct. If your account permits company changes, select Edit invoice details to update them.
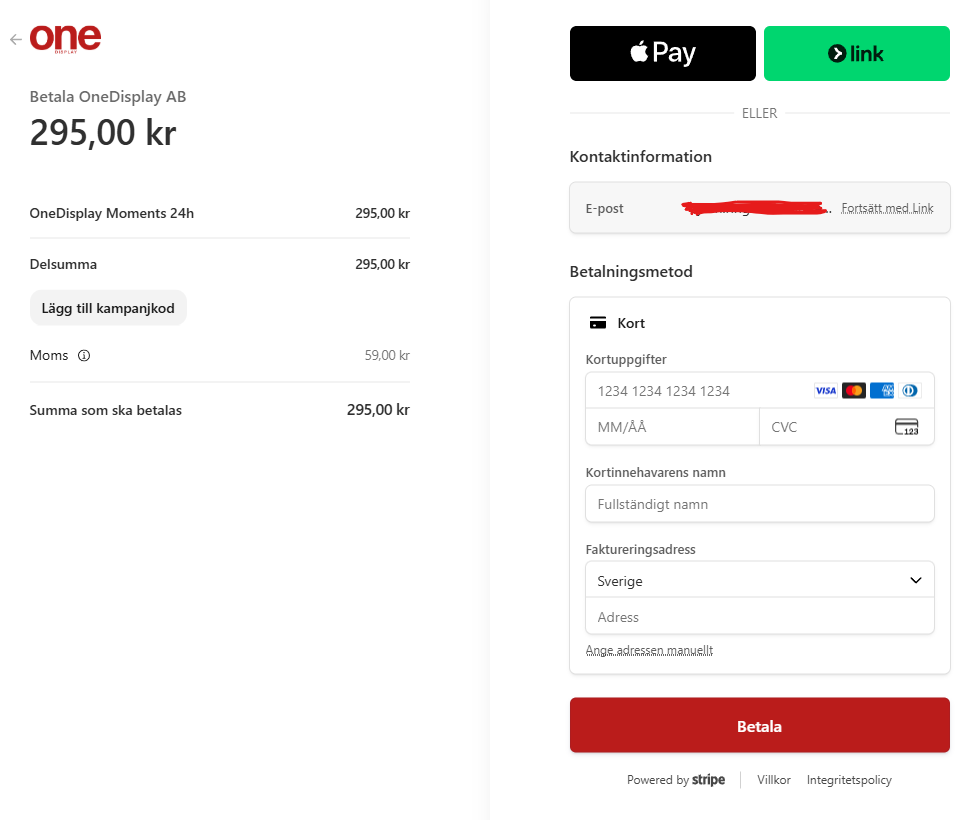
Select Continue to secure payment to open Stripe Checkout. Payment prepares the Moment but does not start its timer.
Complete the payment securely in Stripe. You can enter an available promotion code and choose one of the payment methods offered for your account.
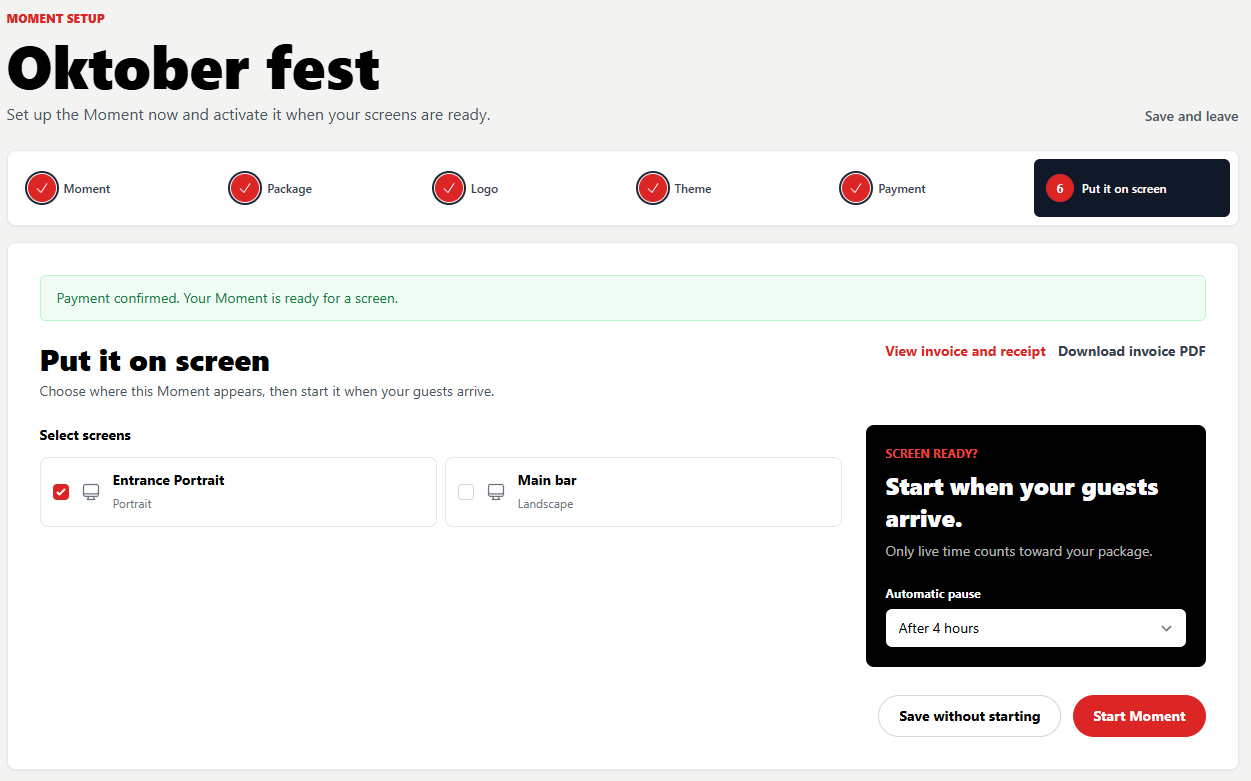
6. Put it on screen
After payment is confirmed, select one or more screens where the Moment should appear. Screen orientation is shown next to each screen to help you choose the correct display.
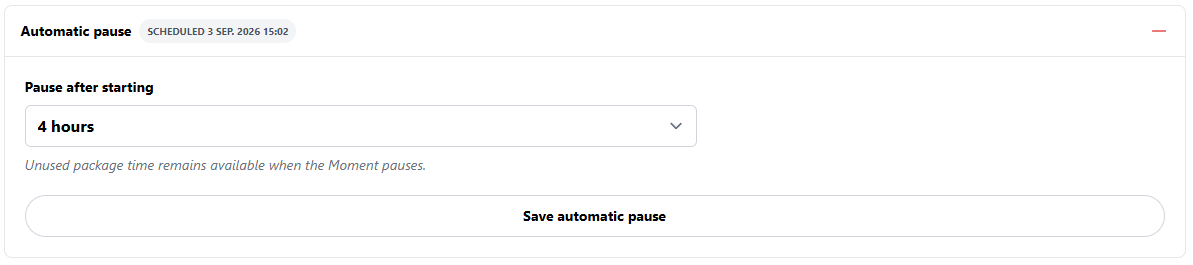
Use Automatic pause to choose how long the Moment should run after it starts. This prevents the Moment from using package time longer than intended. You can then:
- Select Start Moment when guests are ready.
- Select Save without starting to keep the paid Moment ready for later.
Manage a Moment
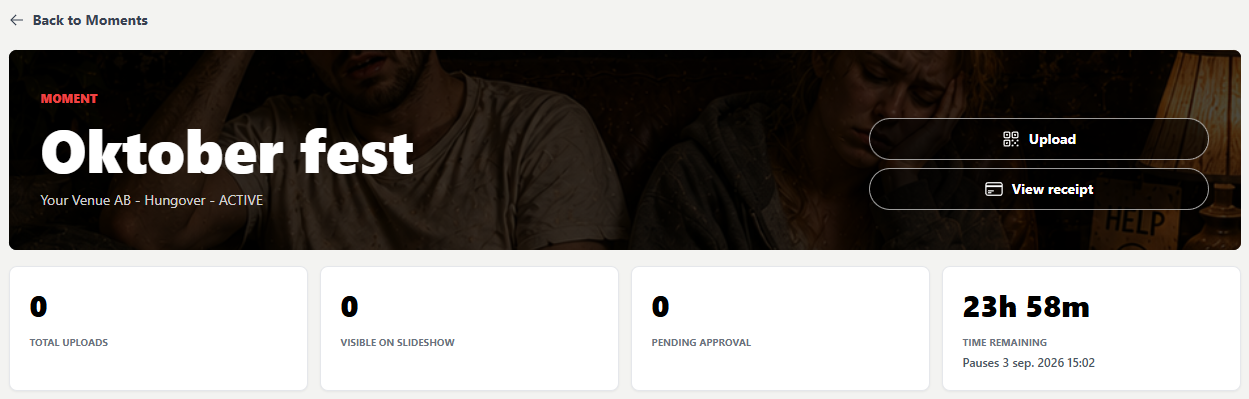
Open a current Moment from the Moments page to monitor it and change its settings. Use Back to Moments to return to the overview.
The header shows the Moment status and provides its guest upload link and Stripe receipt. The summary cards show total uploads, images visible in the slideshow, images pending approval, remaining package time and the next automatic pause when one is scheduled.
Status and settings
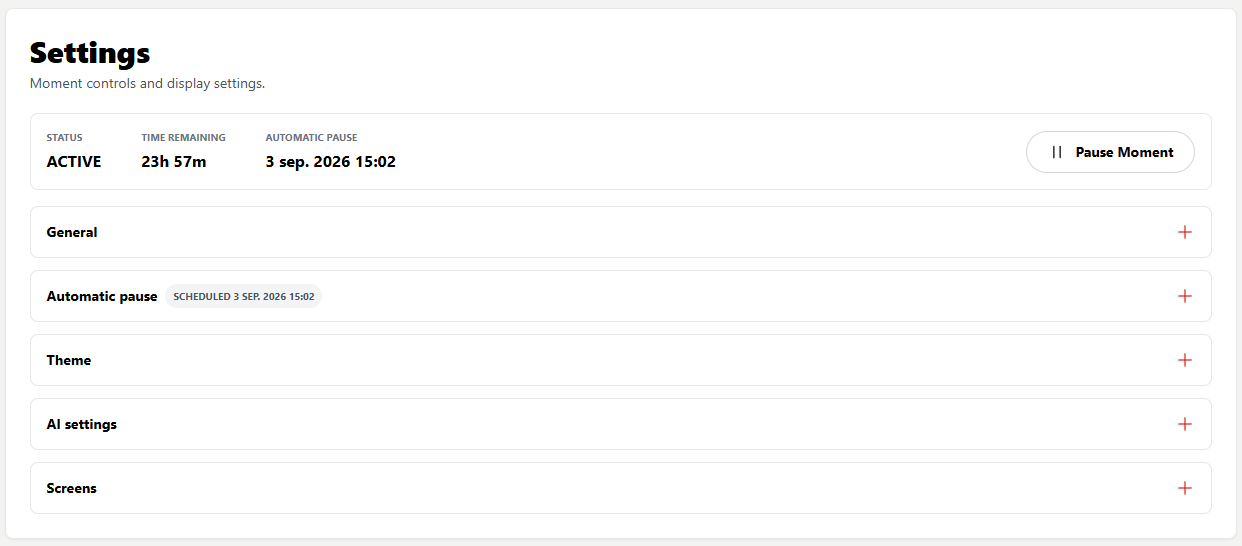
The settings summary shows whether the Moment is active or paused, its remaining time and any scheduled automatic pause. Select Pause Moment to stop the timer and preserve the remaining package time.
Open an accordion to change that group of settings. Save each section after making changes.
General
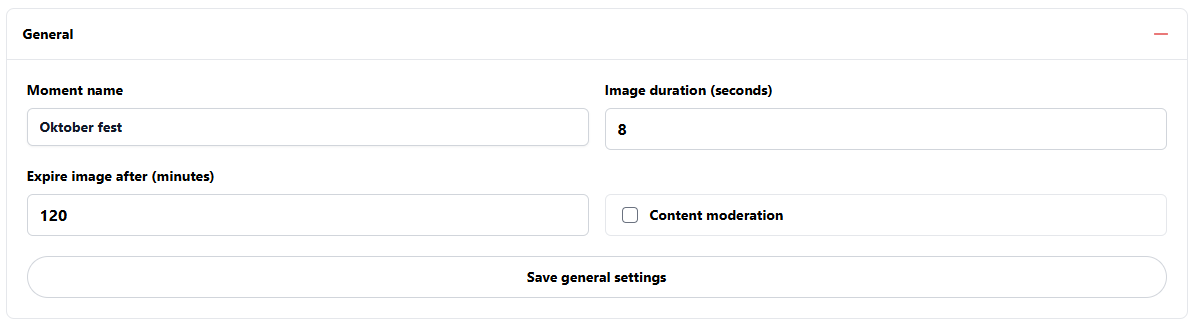
Use General to change:
- Moment name: the internal name shown in your workspace.
- Image duration: how many seconds each finished image remains on screen.
- Expire image after: how long an image remains available to the Moment.
- Content moderation: requires an original guest upload to be reviewed before image generation and display.
Automatic pause
Choose how long the Moment should remain active after it starts. The scheduled pause time is shown in the accordion title and in the Moment summary.
When the Moment pauses, unused package time remains available for a later activation.
Theme and logo
The Theme section displays portrait and landscape previews of the current theme. Select Change theme to choose a different design.
You can also switch between the saved venue logo, a Moment-specific logo or no logo. If no Moment logo has been uploaded yet, select its preview to add one. Select Save theme and logo after making changes.
AI settings
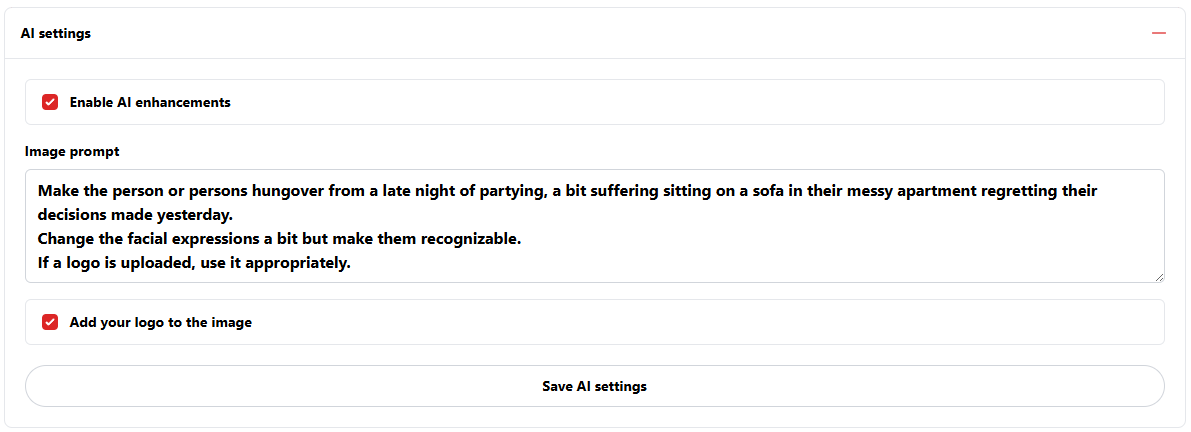
Use AI settings to enable or disable AI enhancements and edit the prompt used to transform guest images. Add your logo to the image controls whether the selected logo may be included in the generated result.
Review the prompt carefully before an event and select Save AI settings when finished.
Screens
Select the screens where the Moment should be displayed. You can add or remove screens while managing the Moment, then select Save screen selection.

Uploads and registered guests
The Uploads section contains the original and finished images submitted during the Moment. Select an image to open the media viewer, compare the original and generated result, and use the available moderation controls. You can also download the Moment photos.
The Registered guests section shows each guest's separate privacy choices:
- Email marketing indicates whether the venue may send marketing emails. The address remains masked when permission is not granted.
- Use of image indicates whether the venue may use the guest's finished Moment image for the approved marketing purposes. Original uploads are not included.
Select Download CSV to export the guest email data available to your account.